

Holy smokes guys…this year has been nuts. As you know, we bought our house early spring 2016 and now here we are January 2017 making yet another move! We didn’t expect to be relocating again this soon but as life would have it, we are.
Tyler now has enough hours to start working for an airline and benefits for new pilots are fantastic right now so we couldn’t pass up the opportunity. Plus, the best part about it is that we are finally moving home! Good ole northern Indiana and all of its low key charm is where we will be calling home once again.
We are currently in an “in-between” state as we are working on getting our Michigan house and closing on our new home. We went house shopping and found the perfect little brick ranch located just 3.5 from his parents, only a few more miles farther from mine, and only a couple miles from town! I will be blogging my way through that house as well since it also has plenty of work to be done. It’s a sturdy home built in ’85 and not a single thing has been updated since. I’m talking fluffy brown carpet EVERYWHERE. Because this is the area we want to settle long term, we are very confident we won’t be moving again anytime in the near future so we will be taking our time finishing this house unlike the quick manor in which we did the Michigan house.
I want to apologize in advance for the crazy length of this post but you just really have to see it all to believe it. That being said, the house is done! I have to go finish packing and cleaning it up but the updates are complete and we are so so so happy with the outcome (and so is our realtor!). Here are some pictures of the finished areas as well as what’s been done!
Kitchen: BEFORE

kitchen
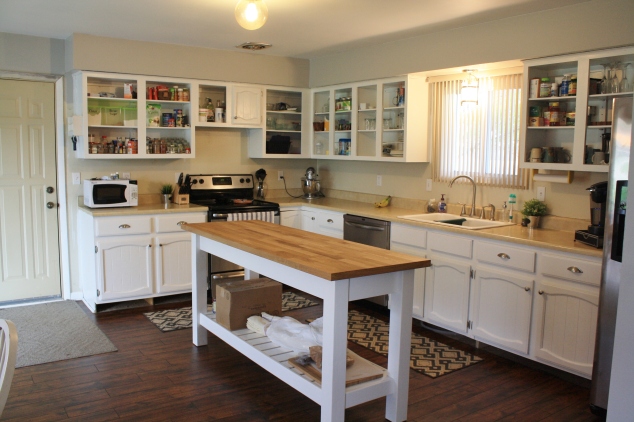
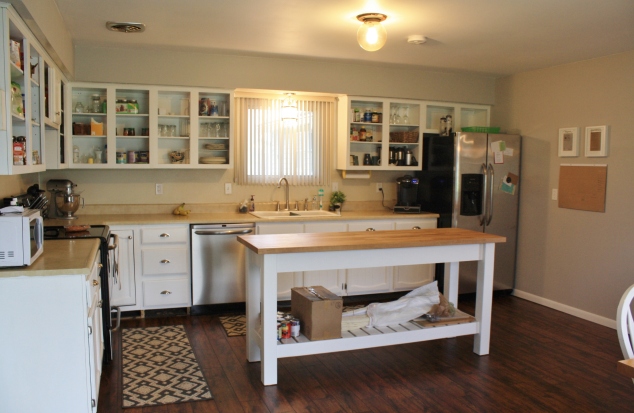
Kitchen: AFTER

Hallelujah flooring! You’ll notice throughout the entire house there is new beautiful laminate flooring as well as new outlets, switches and smoke alarms. We also added new hardware, and EVERYTHING has a new, fresh coat of paint. There are new appliances and Tyler added canned lights and under-cabinet lighting as well as changed the 2 existing fixtures to make this kitchen way more bright and functional. As we started getting tight on time we decided not to do a real tile backs plash and instead I stenciling the wall and honestly, the final look totally exceeded my expectations. After adding an island, updating the counter top and dealing with finishing touches, this kitchen barely resembles the dark dingy room that it was before.
Dining area: BEFORE

kitchen/dining area

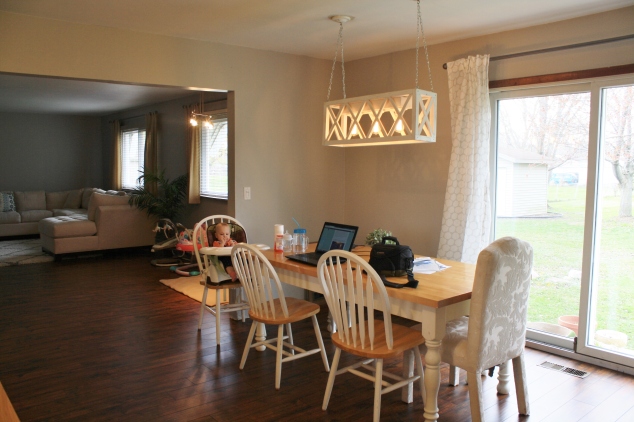
Dining area: AFTER


The two biggest changes are the opening to the living room which Tyler doubled in size and the brand new pantry! Other than that, he changed the light fixture (I copied this fixture design from one I saw on Fixer Upper and fell in love with. My wonderful Father in law built it for me), and obviously everything got a fresh coat of paint and I changed the door/window treatment.
Living room: BEFORE

living room
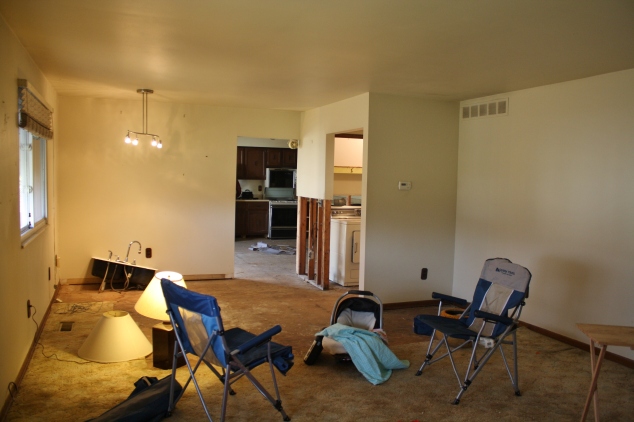
living room
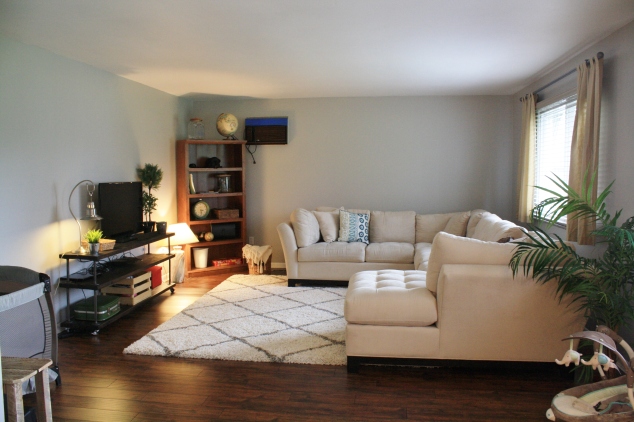
Living room: AFTER


Again the biggest difference was the doorway doubling in size and other than that, lots and lots of paint! The wall air conditioning unit ended up staying 😦 because removing it would have meant alot of interior and exterior work that would have cost us more than it was worth to us. I made a little play corner for Evelyn and really just did some light decorating. We never ended up getting anything made in time to hang between the windows but that’s alright since it’s all coming down now anyway.
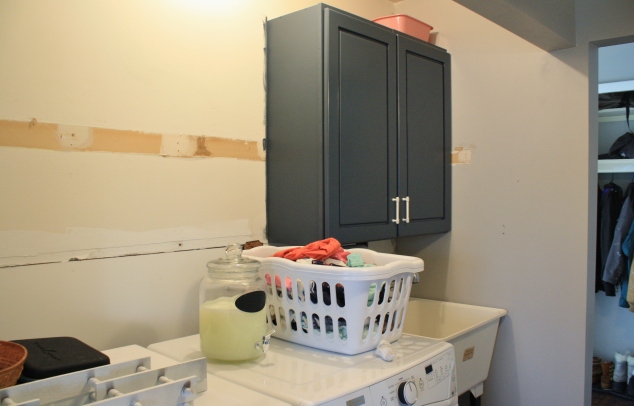
Laundry “room”/closet: BEFORE

Laundry closet
Laundry “room”/closet: AFTER
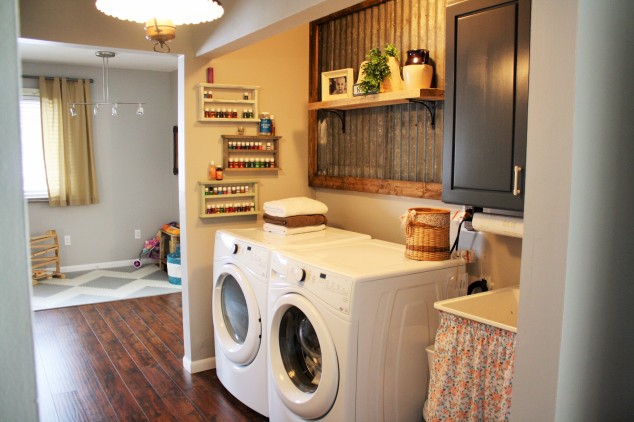
Tyler put up the missing drywall, hung a cabinet, the back wall accent and installed fresh plumbing and washer & dryer. Then, of course, I painted, decorated, and made a skirt for the sink to hide some cleaning buckets. We wanted to add a folding counter, but again, with the time crunch, decided it was not a necessity.
Hallways: BEFORE

main entrance

hall with all bedrooms and bathrooms
Hallways: AFTER


The hallway again has fresh paint, new light fixtures, new outlets, and I painted the doors and hardware and Tyler hung them.
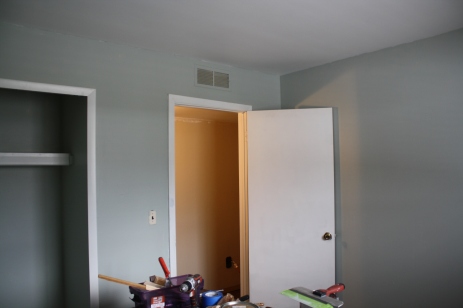
Bedroom 1/ Office: BEFORE

bedroom 1 (office)
Bedroom 1/ office: AFTER

This room got new flooring, fresh paint, and a new light fixture. Tyler also built a sturdy gun cabinet and this large corner desk. These pictures were taken after I had the room mostly packed up but my sewing stuff was on one side and his gun reloading and computer stuff was on the other. The desk is technically a built in, but if the new owners need a 4th bedroom, it can easily be converted back into one.
Main bathroom: BEFORE

main bathroom

main bathroom
Main bathroom: AFTER


This is one of my favorite room remodels! The paint on the walls was very lumpy and we knew to get it to a paintable state would require a ton of sanding and prep work, plus we love fixer upper style so we decided doing a faux shiplap on the walls was the best choice. Tyler put up exposed beadboard on the ceiling and I painted the shiplap a soft white. Tyler built a new vanity to replace the old short one and painted it dark gray for a nice pop. We decided to reuse the counter and sinks since they were in good shape and the counter was about the color we were looking to put in there anyway, plus we saved a little money. 😉 But he changed the faucets, light fixtures, and replaced the ugly tub tile with a nice tub surround after I took out the old sliding shower door.
Tyler had framed the two existing mirrors in a beautiful stained wood but they ended up being too tall so he was going to just hang one, sideways between the two, but I said “no way!” He told me if I found a solution for $50 or less then he wouldn’t do it (not thinking I could make it happen cause mirrors are expensive!) but IKEA came in for the save! I found this mirror for $49.99 and it was a perfect fit. Finally, my favorite feature in the bathroom is the floor! We knew we didn’t like the tile, but also knew removing it and replacing it was out of our budget and too much work, so of course, we decided paint would solve our problem! I used a good branded exterior paint and primer combo after roughing up the tile a little and laying down a layer of just a regular primer. I put down a layer of plain white first and then I used a stencil with a charcoal colored paint and after letting it dry for a couple of days, did a layer of polyurethane. I love the outcome and plan to do it again in the next house at least as a temporary fix. The bathroom used to feel cold, echoey, old and drab but now it’s so cozy, fresh, and definitely doesn’t have that obnoxious echo!
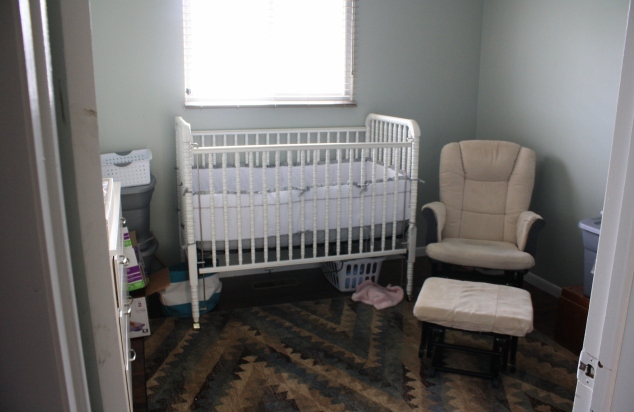
Evelyn’s bedroom: BEFORE

bedroom 2
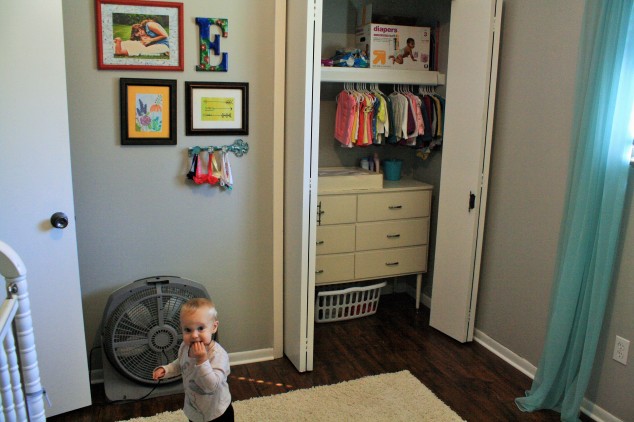
Evelyn’s room: AFTER


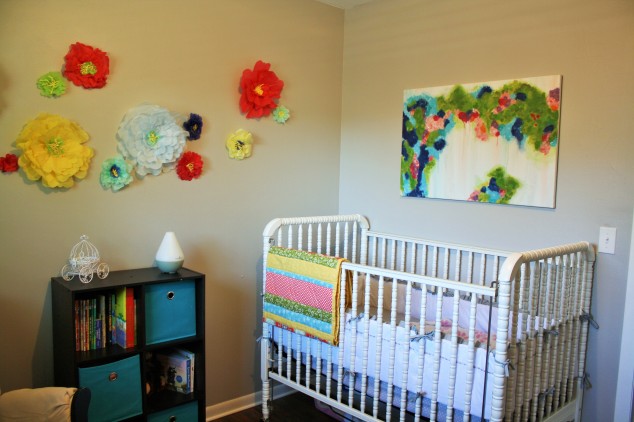
I wrote a post all about her bedroom which you can scroll down and read about if you like but the updates that happened in here were paint, flooring, light fixture, outlets, and the switch!
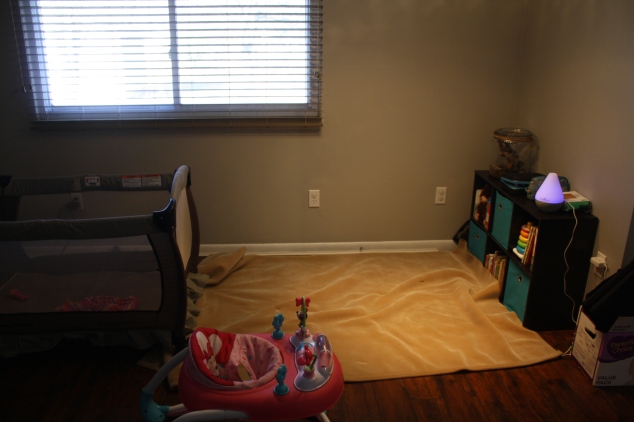
Spare bedroom: BEFORE

bedroom 3

bedroom 3
Spare bedroom: AFTER

This room got paint, new outlets, new switch, and rather than doing the laminate flooring (we ran out), we did carpet. These are actually carpet tiles which typically have a bad rep, but oh my goodness, they were so quick and easy to Install! These ones have the carpet pad on them and were just a peel and stick, so it took Tyler all of 20 minutes to do the whole room. Plus because it a little longer pile, you can’t see the seems at all and it just looks like a professional installed normal carpet just at a fraction of the cost and a fraction of the work. He didn’t put the bed back together after laying the carpet, but when it’s all put together, the room feels large.
Master bedroom: BEFORE

master bedroom

master bedroom
Master bedroom: AFTER


This is the only room we put a ceiling fan in. Rather than having to wire a second switch, we chose to get a remote controlled fan which was really great! We also painted, put in new flooring, changed outlets and switches, and updated the on suite bathroom. Tyler also built us this beautiful headboard when we finally decided we were ready to buy a queen size bed.
Master bathroom: BEFORE

master bath
Master bathroom: AFTER


This bathroom got a very similar makeover to the main bathroom since it was in similar shape. Faux shiplap, beadboard ceiling, new vanity, same counter (but I did refinish this one), same sink, the faucet was the one that had been in good shape in the main bathroom, he added a bathroom vent since there hadn’t been one, and I painted the tile. I had started trying to do the same stencil as the other bathroom, but these tiles are much more bubbled and it was looking terrible, but we knew the bathroom needed some deep color so instead I just painted it with the dark charcoal and a layer of poly. He was able to use one of the mirrors from the old bathroom that he had framed in here as well.
We didn’t do extensive work on the outside, aside from regular yard work, but we certainly are leaving in much better shape than we bought it in. Tyler poured a new front step since the old one had been leaking water under the house, and put a hose hook & post out front while I did a ton of weeding, planting, and mulching on the front flower bed. We also added a large garden in the back section of the yard and Tyler built a swing set for Evelyn’s airplane swing that her Uncle Delton built for her.
I don’t have any “before” pictures of the outside, but here are some pictures of the yard at it’s peak last summer.


Even though this wasn’t supposed to be a “flip home”, we are are really happy with how everything turned out and also really happy with the ways we were able to cut and save on costs!
And that’s it folks! We are somewhat sad that we won’t have the chance to enjoy the house in it’s completely finished state but we are also incredibly excited to be starting another chapter of our lives. As I mentioned earlier, the new house is in need of extensive updating as well, but it’s right near family, has good bones, and will be somewhere we call “home” for much longer! Once we have possession and life doesn’t feel quite so crazy, I’ll be giving you a tour there as well so keep checking in!


 It was about 25 minutes away from our house and we had to make it in two separate trips because it’s huge and we only have a small 4X8 trailer. It came in three pieces so in the first trip we got the large sofa part (left) and shoved all the cushions for that section in the back of our car. The second trip, we were able to get the other two pieces and managed to squeeze the remaining cushions in the back. Now, you may be thinking, “that’s not that huge” but you are wrong. The couch piece on the left is 9 ft long, the back (from corner to corner) is 12 ft. and the chaise is 6 ft. Anyway it’s awesomely huge and we are excited to be able to use it soon.
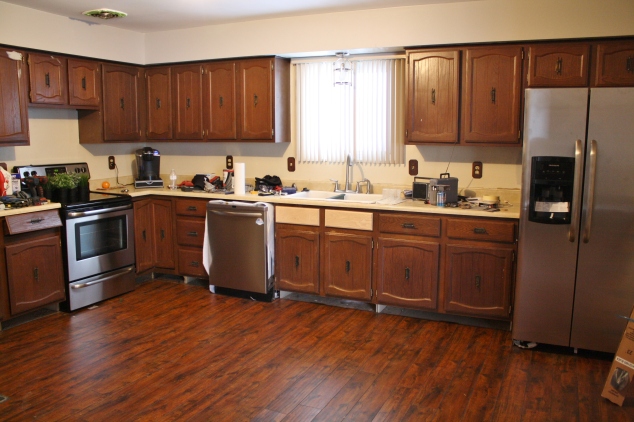


You must be logged in to post a comment.